
Install Wordpress on a personal website
Wordpress is a widely used service on the web. It allows you to set up a site very quickly. At UCLouvain, it is slowly becoming a standard in terms of maintenance by IT teams and is very easy for users to install.
- Have made a request to the UCL web / hosting service. All you need to do is go to https://intranet.uclouvain.be/fr/myucl/services-informatiques/hebergement-web.html
- Select the “Internet services > WEB hosting” service
- Click on the link “Accommodation request”
- Fill in the form
- Type of site: your choice
- URL: your choice
- Language: PHP
- Database type: Check MySQL
- Number of comics: 1
- Special software: None
- The rest of the data is at your discretion.
- NB: The response is not immediate and may take a few days (1 week maximum).
- You will then receive an email from the hosting service with a set of connection information.
- Have installed the Filezilla program (or another FTP client) on his machine
First, download the installation files here.
Upload the WordPress files via FTP to the desired location on the server:
- If you want to place WordPress at the root of your domain (for example https://perso.uclouvain.be/freddy.mercury/), move all the content of the unzipped WordPress directory (excluding the directory itself) to the root of your server.
- If you want to place your WordPress installation in a sub-directory of your website (for example: https://perso.uclouvain.be/freddy.mercury/blog/), rename the WordPress directory with the name you have chosen for the subdirectory and move to your server.
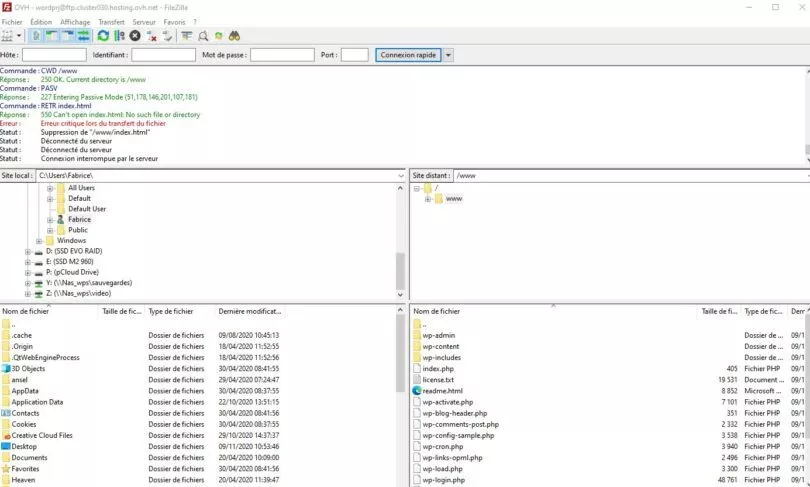
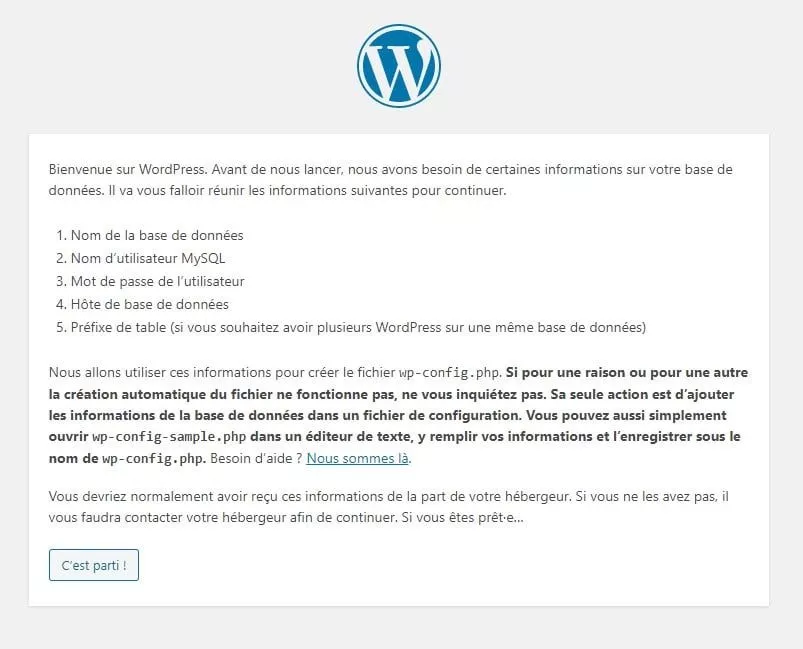
You can then visit your site (or sub-directory if applicable). You should see this page:
A prior warning indicates the procedure to follow in the event of a problem related to permissions. Indeed, it sometimes happens that the rights are not good. So you have to go through Filezilla to change the rights to 755 or 777 during the installation, then go back to 644.
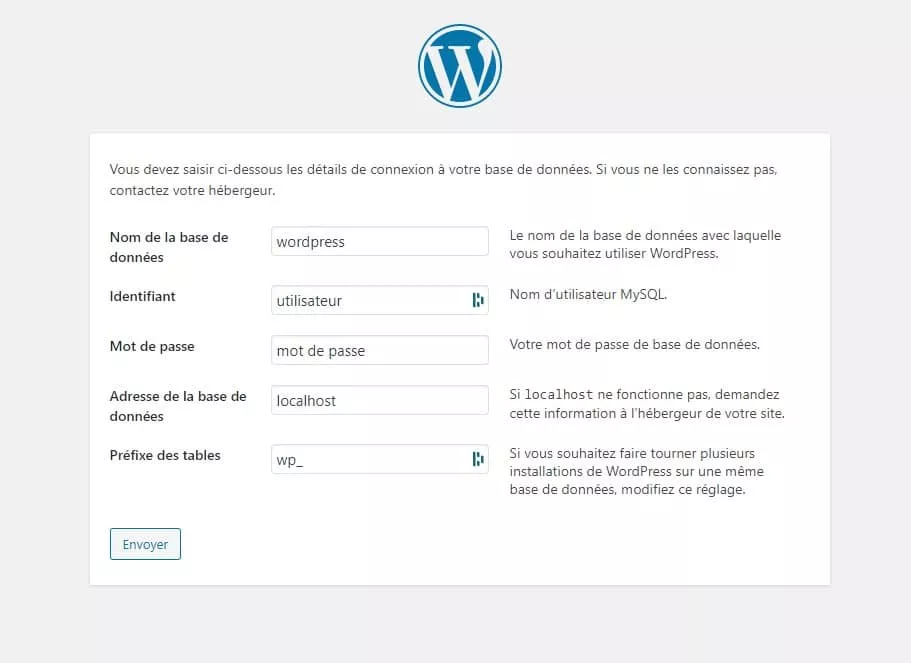
Click on “Let’s go!”. You are then asked for information related to your database. This information can be found in the email received during your accommodation request.
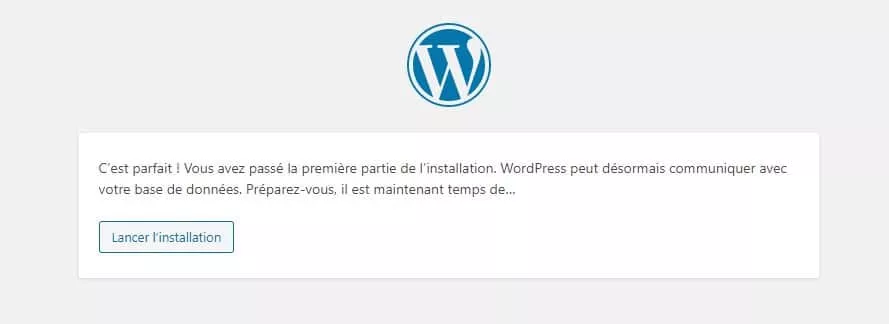
Once all this is correctly configured, we suggest you launch the installation:
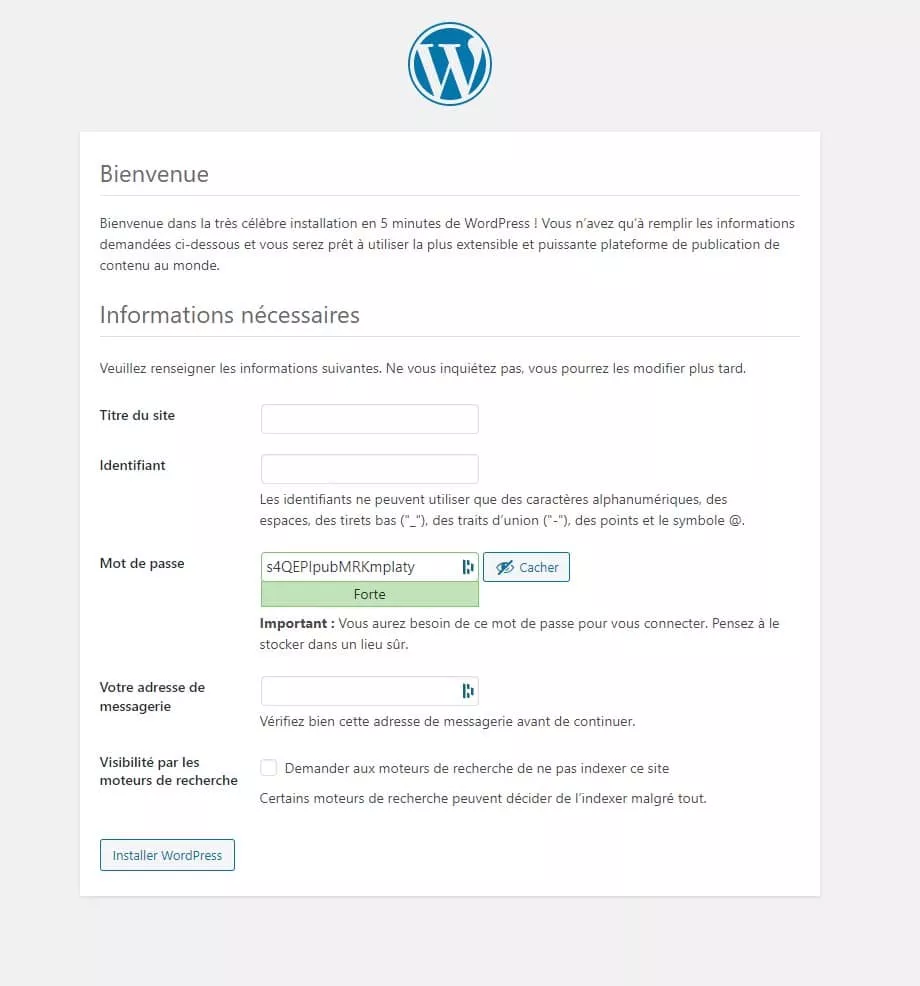
Enter the necessary information (site title, administrator ID, password, administrator email and visibility by search engines):
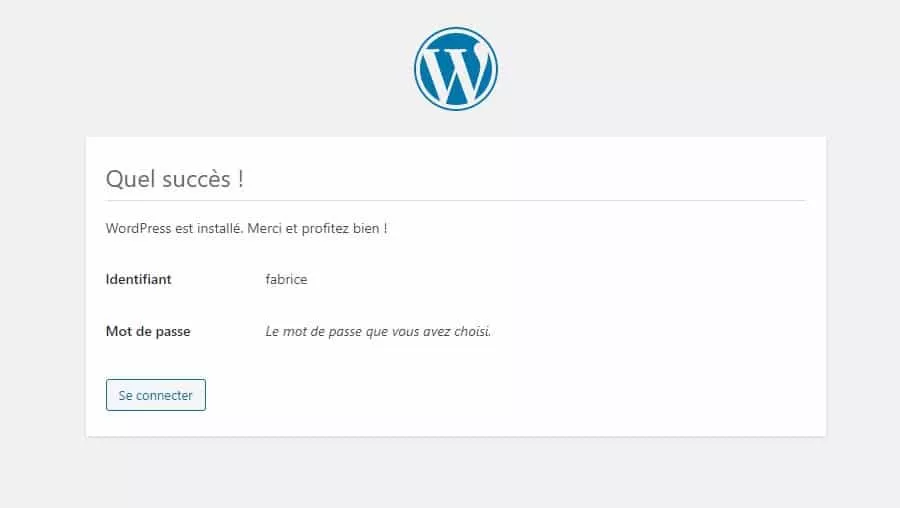
Once all this is done, we confirm the correct installation, you can then connect to the administration interface of your website.
Inspired / used text & images from the next article.