Quick install#
Prerequisites#
Watlab is Python-API dedicated to hydraulics simulations. The Python-API allows you to drive the different solvers available in the toolbox. The following prerequisites are mandatory to use Watlab:
A working version of Python
Some basic knowledge on Python scripting
Get a working version of Python#
We recommend using Anaconda to manage the different Python modules. Anaconda is a package manager that offers a graphical interface and a suitable prompt (the “Anaconda prompt”) to execute Python scripts and manage Python environments.
If you prefer using your own terminal, make sure to add Python to your path.
If you prefer, you can also install Python without any package manager.
Get a class about Python#
If you are not familiar enouth with Python, no worries. Several short tutorials exist, but we strongly recommend that one ! FYI, numerous tutorials exist also on the Anaconda website, but mostly to help you go to the next level and master the Python environments, which is not crucial at this point.
Note that our own tutorials will also guide you through your first Watlab exectuted script. So if you are impatient, let’s go directly to the next section!
Get Watlab (Windows)#
Watlab is supported on Python 3.11 or later.
Watlab installation is complicated by its (weak) dependency to the libgdal package. On Linux and MacOS, installation is included in the resterio installer. On Windows, one needs to install GDAL first : gdal 3.4.3 for Windows (for Win_AMD64; for another version, see here).
You can now simply use the PyPI repository and execute:
python -m pip install GDAL-3.4.3-cp311-cp311-win_amd64.whl
python -m pip install watlab
Alternatively, if you use Anaconda, open the Conda prompt at the emplacement where the installer is, and execute the following (similar) command:
conda create --name watlab python=3.11
conda activate watlab
python -m pip install GDAL-3.4.3-cp311-cp311-win_amd64.whl
python -m pip install watlab
Watlab for Linux (and MacOS?)#
On Ubuntu, you will need to install some DLLs to run gmsh. To do so, install it first by hitting
sudo apt update
sudo apt install libglu1
sudo apt install libxcursor1
sudo apt install libxft2
sudo apt install libxinerama1
Then install watlab in a venv with the requirements. If necessary, install Python and python3.11-venv:
apt install python3.11
apt install python3.11-venv
Then make your environment, activate it and install the dependencies:
python3.11 -m venv watlab
source watlab/bin/activate
python3.11 -m pip install watlab
There is no installation procedure for MacOS (yet). If you try it, let us know about your experience :-).
Run Watlab (for the impatients)#
In order to test your Watlab instance, create a folder somewhere in your computer (say in ~/usr/myWatlab/) and unzip this archive.
Open the Conda prompt and activate your newly created watlab environment:
conda activate watlab
Then run the script with
python .\watlab-first-script.py
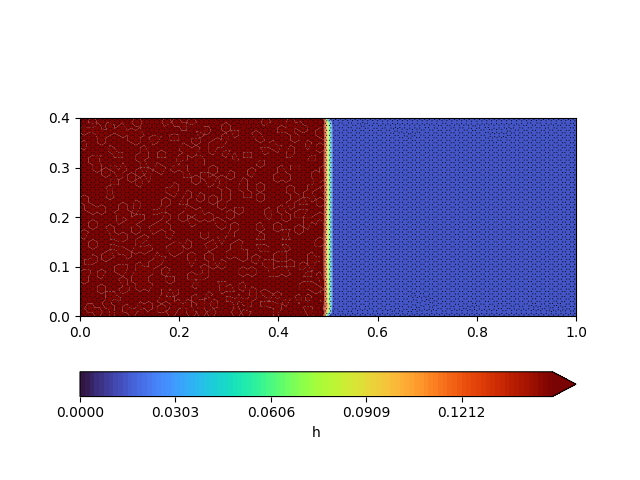
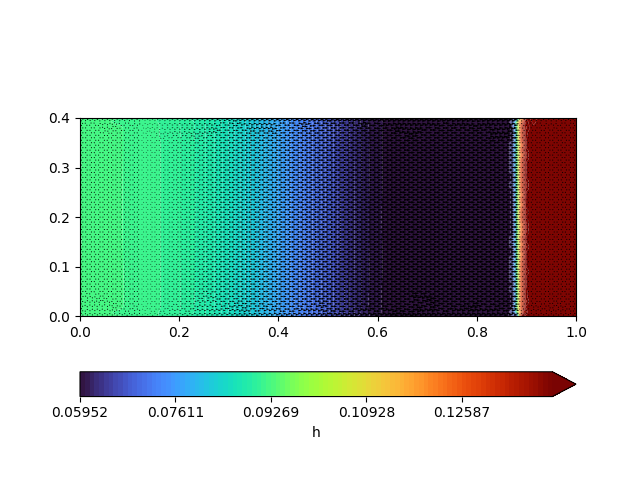
If you see the following pictures then it worked!

